recent posts

Monday, September 26, 2011

Some Fun Halloween Recipes

Here are some fun recipes for your upcoming spooktacular:

A Mwa-ha-ha-ha Midday Meal
from Disney's Family Fun Magazine

Ingredients
  • Sandwich
  • Red pepper
  • Clementine
  • Green fruit leather
Instructions
  1. Use a paring knife to cut a sandwich into a skull or bite-size fingers, as shown. For the latter, add red pepper nails. To turn a clementine into a jack-o'-lantern, press on green fruit leather shapes.

Hot Dog Mummies
from Disney's Family Fun Magazine

Ingredients
  • 1 11-ounce can of refrigerator breadsticks
  • 1 12-pack of hot dogs
  • Yellow mustard
Instructions
  1. For each mummy, separate one breadstick from the roll and use kitchen shears or a knife to slice it in half lengthwise to create two thinner strips.
  2. Wrap one strip at a time snugly around the hot dog. Depending on the size of the hot dog, you may not need all of both strips. Leave about 1/2 inch of hot dog exposed for the face area and continue wrapping the top of the hot dog.
  3. Bake the mummies on a cookie sheet at 350º for 15 to 18 minutes or until the breadstick wrapping is golden brown.
  4. Remove the mummies from the oven and cool them for 5 minutes. Add yellow mustard eyes just before serving. Makes 12 mummies.

Easy Ghost Cookies recipe
from KraftRecipes.com

what you need

1 pkg. (6 oz.) BAKER'S White Chocolate
18   NUTTER BUTTER Peanut Butter Sandwich Cookies
Decorating gels and/or assorted small candies

Make It


MICROWAVE chocolate in medium microwavable bowl on HIGH 1-1/2 minutes or until chocolate is completely melted, stirring every 30 seconds.
SPREAD chocolate onto one side of each cookie for the ghost's "body." Cool slightly.
DECORATE with gels and/or candies to create "faces." Cool until chocolate is set.

Yummy Mummy Spinach Dip recipe
from KraftRecipes.com

What You Need

1 pkg. (16 oz.) frozen pizza dough, thawed
1   egg, beaten
2 sticks KRAFT POLLY-O STRING-UMS String Cheese
2   black olive slices
1 cup BREAKSTONE'S Reduced Fat or KNUDSEN Light Sour Cream
1/4 cup  KRAFT Light Ranch Dressing
1 pkg. (10 oz.) frozen chopped spinach, thawed, well drained
1   green onion, sliced
1/2 cup finely chopped red peppers
1/4 cup  KRAFT Grated Parmesan Cheese
1/4 tsp. ground black pepper
  WHEAT THINS Original Crackers

Make It


PAT dough into 12x6-inch oval on baking sheet sprayed with cooking spray. Indent dough, about 3 inches from one end of oval, for the mummy's head. Let rise in warm place 20 min. or until doubled in volume.
HEAT oven to 375ºF. Brush dough with egg. Bake 18 to 20 min. or until bread is golden brown and sounds hollow when tapped lightly. Pull apart string cheese to make about 16 strips; arrange on bread for the mummy's wrappings. Bake 1 to 2 min. or just until cheese is melted; cool slightly. Press olive slices into bread for the mummy's eyes; cool completely.
MEANWHILE, mix sour cream and dressing in medium bowl until well blended. Stir in next 5 ingredients. Refrigerate 30 min. or until ready to serve.
USE sharp knife to remove bread from top of mummy's body; scoop out bread from center, leaving thin shell on bottom and side. (Reserve bread top. Discard removed bread or reserve for another use.) Fill bread with spinach dip just before serving; cover with top of bread. Serve with crackers. (Nutrition information is for dip and crackers only.)
 
 
Spooky Eyeball Tacos recipe
from KraftRecipes.com

What You Need

1 lb. ground beef
1 pkg.  (1-1/4 oz.) TACO BELL® HOME ORIGINALS® Taco Seasoning Mix
12 TACO BELL® HOME ORIGINALS® Taco Shells
3/4 cup  TACO BELL® HOME ORIGINALS® Thick 'N Chunky Salsa
3/4 cup BREAKSTONE'S or KNUDSEN Sour Cream
1 can  (2-1/4 oz.) sliced black olives, drained

Make It

HEAT oven to 350°F.
MIX meat and seasoning mix; shape into 36 (1-inch) balls. Place in 15x10x1-inch pan.
BAKE 15 to 20 min. or until done (160ºF).
FILL each taco shell with 1 meatball; drizzle with salsa. Top with 2 meatballs dipped in sour cream. Garnish with olives to resemble eyeballs.

haunted forest
from bhg.com - Better Homes and Gardens
What You Need:
haunted forest
Enlarge Image
Go ahead, eat 'em up!
Click to enlarge.
  • 3 stalks of broccoli
  • 3 medium beets
  • Wood toothpicks
  • 3 hard-boiled eggs
  • Assorted vegetables such as cherry tomatoes, pea pods, kohlrabies, radishes, sweet red peppers, sweet yellow peppers, and shredded carrot
  • Ripe olives, pimiento-stuffed olives, and/or tiny sweet pickles
  • 1 ounce spaghetti, cooked and drained
  • Liquid green food coloring
Instructions:
1. To make a haunted forest, first create trees. Cut bottoms from stalks of broccoli to make 6-inch broccoli trees. Slice beets about 1/2 to 3/4 inch thick to make a base for broccoli trees. Break wood toothpicks in half. Insert three to four toothpick pieces into bottom of each broccoli stalk and then insert into a beet slice. Stand broccoli upright. Cover to keep moist.
2. To make egg ghosts, use a small knife or 1/2-inch aspic cutters to hollow out eyes and mouths to form a face. Cut small pieces of ripe olive to press into hollowed-out areas for eyes or mouth, if desired. Cover to keep moist.
3. Using your imagination, create creepy creatures with tomatoes, sweet peppers, pickles, olives, and radishes.
4. Place broccoli trees on serving platter. Cover surface of platter with shredded carrot. Hide egg ghosts in forest along with creepy creatures. Scatter piles of vegetables such as pea pods, beet slices, kohlrabi slices, olives, pickles, and/or any other desired vegetables. Add strips of red pepper to the broccoli branches.
5. To make moss, add a few drops of green food coloring to a small amount of water in a medium bowl. Add cooked spaghetti and let stand about 5 minutes. Drain and place over broccoli trees. Keep platter covered until serving time. If necessary, spritz platter with water to keep it moist.

Well, I hope you have a happy Monday and if you try any of the recipes, let me know how they come out,

Natosha

Sunday, September 25, 2011

Things That Matter The Most

Yesterday Jax, Mike, Blaine (nephew) and I went to the Foster Friends Festival here in Searcy, Arkansas.  In California, I was a social worker for a private, non-profit foster family agency.  I really miss working with the children and foster parents.  The system is a lot different here in Arkansas.  I have been trying to find a job as a case manager, but with the state budget recently being cut, they are not hiring.  I am thinking about volunteering with CASA or the local children's home so I can at least help.  Who knows, it might lead to a job.  Anyway, here are a few photos.


Have a great Sunday,

Natosha
Friday, September 23, 2011

Been Busy

Hi!  I was going to post a cheaper way to do a crackle paint finish yesterday, but didn't get to finish the frames I was demonstrating on.  So - I will post those next Thursday.  Here's where I got the idea:

Wednesday, September 21, 2011

Korean Rice Bowl (from Family Circle Magazine)


Hello everyone!  I recently made this for my family.  I already had most of the ingredients on-hand.  All I had to buy were a zucchini and the shiitake caps.  I thought I had sushi rice, but I was out so I used regular white quick rice and it substituted just fine.
Ingredients
  • 1 1/2 cups sushi rice
  • 1/4 cup rice vinegar
  • 3 tablespoons low-sodium soy sauce
  • 1 tablespoon peeled, minced fresh ginger
  • 2 cloves garlic, minced
  • 1 tablespoon cornstarch
  • 2 teaspoons sesame oil
  • 2 teaspoons chili-garlic paste (such as Sriracha)
  • 1 zucchini, cut into matchsticks
  • 2 cups shiitake mushroom caps (1/4 pound), thinly sliced
  • 1 cup shredded carrots
  • 1 pound ground beef
  • 4 large eggs (optional)

Directions

1. Prepare rice: Combine 2 cups water and rice in a medium, lidded saucepan. Bring to a soft boil. Cover and simmer over medium-low heat, 20 minutes. Remove from heat and let stand 10 minutes. (if using another type of rice, just follow the directions on the package.)
2. Meanwhile, in a small bowl, blend rice vinegar, soy sauce, ginger, garlic, cornstarch, sesame oil and chili-garlic sauce. Set aside.
3. Coat a large nonstick skillet with nonstick cooking spray. Add vegetables and 3 tablespoons water. Cook over medium-high heat for 4 minutes, or until just softened. Remove to a bowl and keep warm.
4. Crumble beef into same skillet. Cook 5 minutes, breaking apart with a spoon. Add sauce mixture and cook 2 minutes.
5. Meanwhile, in a second skillet, fry eggs, if using: Coat skillet with nonstick spray; heat over medium to medium-high heat. Crack 2 eggs into skillet. Cook 1 minute, then flip. Cook 1 more minute. Transfer to a plate. Repeat with remaining 2 eggs. Place a mound of rice into 4 bowls. Top each with 1/2 cup meat mixture and 1/3 cup vegetables. Finish each with a fried egg, if using.


*Wal-Mart was out of Shiitake mushrooms, so I used Portabella and they worked great.  I also discovered I was out of cornstarch, so I used about 1 tbs of flour.

Here are my lovely ingredients:
For the sauce.  FYI:  Siracha is hot, so beware.
Ground beef and rice, I was feeding 2 people so I only used 1/3 of the beef.
Beautiful veggies.
Time to put it all together.
A food stylist I am not.
Ok, so, I was not impressed with the sauce.  It was a little sour.  Next time I would only use about half of the rice vinegar and maybe more of the soy sauce.  Also, I used a generous 2 tsp of Siracha.  Now I'm not a wimp when it comes to spicy food, but my nose started running.  Sorry for that visual.  I'm not really sure what the sauce needed, but it was missing something.  If you try it, let me know what it needs or what you did to tweak it.  I may research some authentic Korean recipes and see what spices and condiments are used most and go from there.

Well, thanks for stopping by,

Natosha
Tuesday, September 20, 2011

Upcycled Boy Hat

So, I love Cheri's projects involving making something new from something old.  You can find her post on how to make the oringinal Upcycled Boy Hat from old t-shirt here on her blog I Am Momma Hear Me Roar.

Cheri gives excellent instructions.  I am terrible at sewing and I figured it out.  I borrowed my mom's sewing machine, grabbed some of my son's outgrown shirts and went to town.  I have to admit it took me at least one and a half hours to make this.  In my defense, I had to change a bobbin and deal with my almost 2 year-old son at the same time.  I didn't take pictures of it step-by-step because you can go to Cheri's page and get all that.

I couldn't get the flaps right and I only used one layer of fabric.  I ended up cutting the flaps off of the second (brown) hat.  The red hat is one I hand-sewed before I went and borrowed the sewing machine.  I have to say I was impressed with myself, meaning it actually looked like a hat.  Except the ear flaps are really wrong, I plan on cutting those off too.  I'm gonna try making more hats soon.  I think I'll use some of Jax's old fleece baby blankets to line a few.  I have a really cute monkey pattern blankie that would be adorable.

Sorry the photos are not the best, my son didn't wan to cooperate.  Anyway, here they are:

As you can see, the flaps are WAY too small.

I used a thinner t-shirt material and it is a wee bit too tight.

I used a thicker knit for this one.

I hand-stiched a pawprint cut from the same shirt.

They are not even close to Cheri's original, but hey, I do not pretend to be a seamstress.  I do think that with a little practice I can do a better job. 

Until tomorrow,

Natosha
Monday, September 19, 2011

Halloween Fun


Growing up, my mother always decorated and celebrated all the holidays.  So I, naturally, get very excited when Fall arrives and the holidays are creeping closer.  And speaking of creepy creeping, Halloween is drawing near.  It's never too early to start planning your decorating or party.  At my house, the Halloween decorations go up on October 1st so we have a full month to enjoy them.

Here is some Halloween fun I found on Etsy.

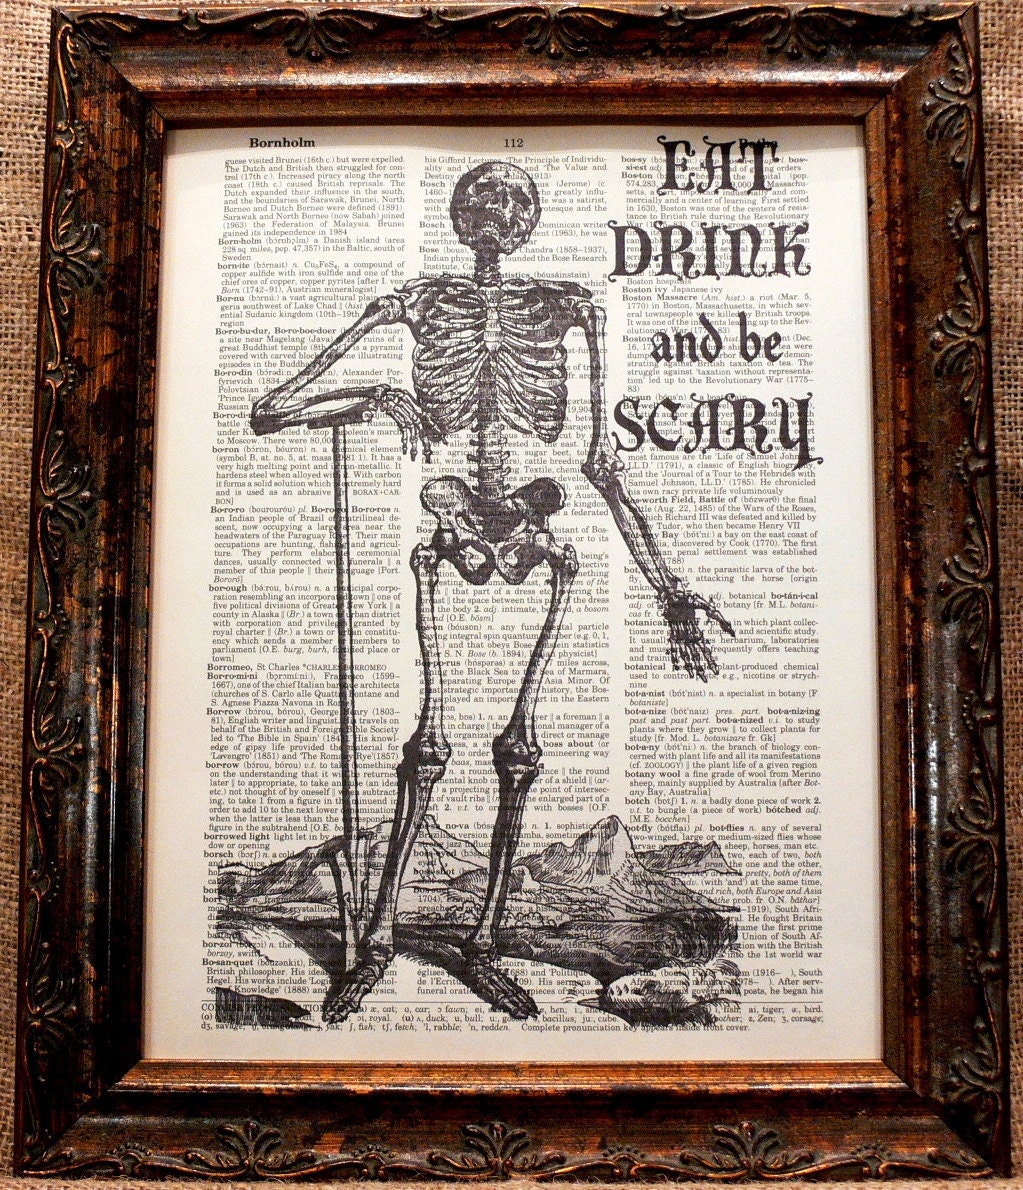
This is a cool piece of art for your haunted manse.


A Page in Time Design Halloween Quote Art Print on Vintage Dictionary Book Page
by APageInTime
 
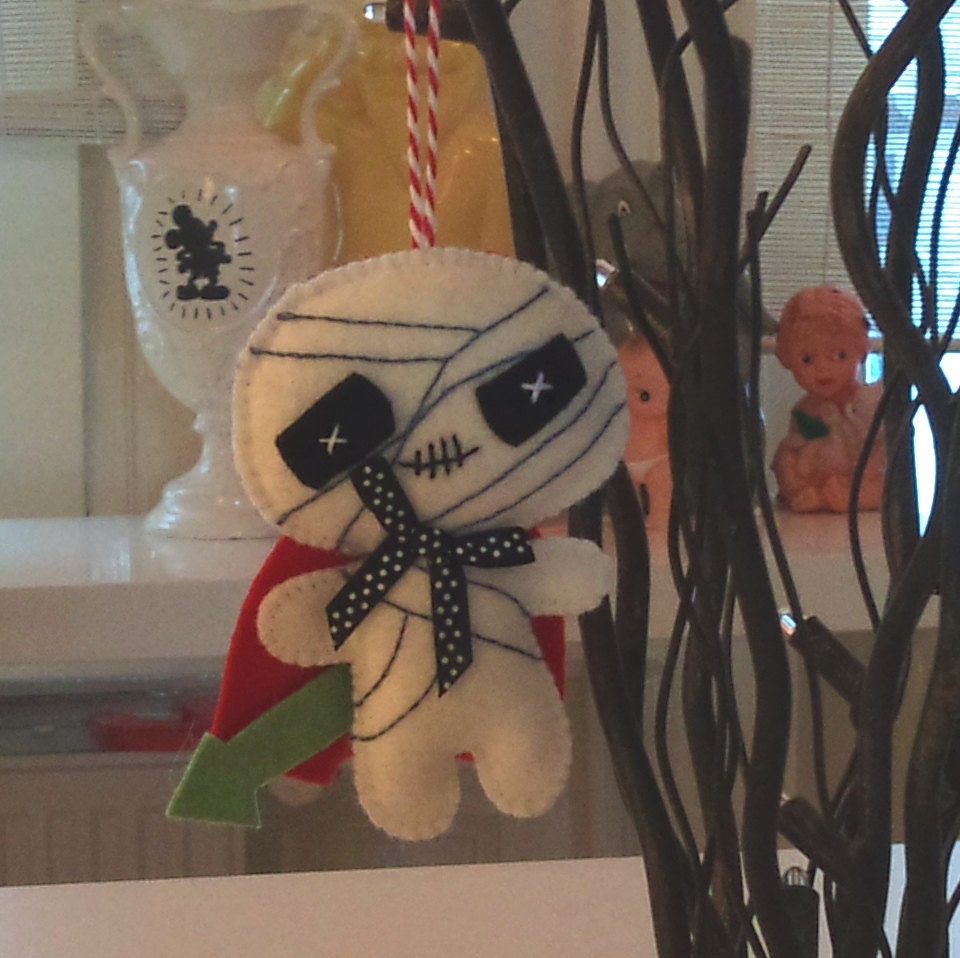
 This ornament is indeed very cute.

Cute white felt halloween ornament
Made by verycute and found here.


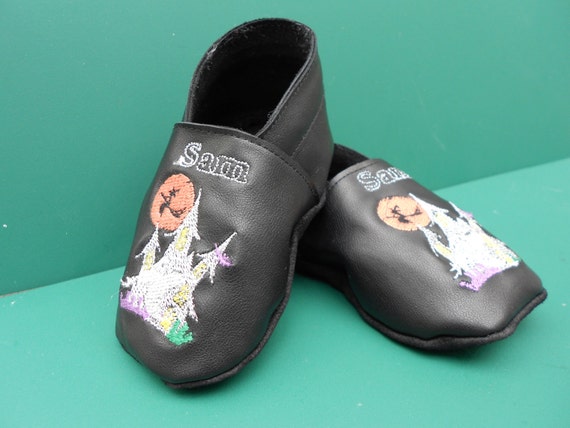
 These shoes make me wish Jax was a baby again.
Halloween baby shoes. Special price. Soft black Leather with embroidered spooky castle, personalised with name.
Handmade leather baby shoes by bornbespoke can be found here.
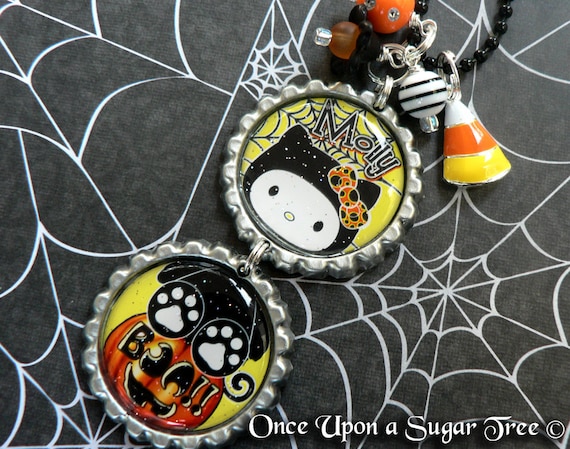
Next, some jewelry for the holiday.
HELLO KITTY Inspired HALLOWEEN Personalized Hanging Double Bottle Cap Necklace, Pumpkin, Candy Corn Charm
by onceuponasugartree


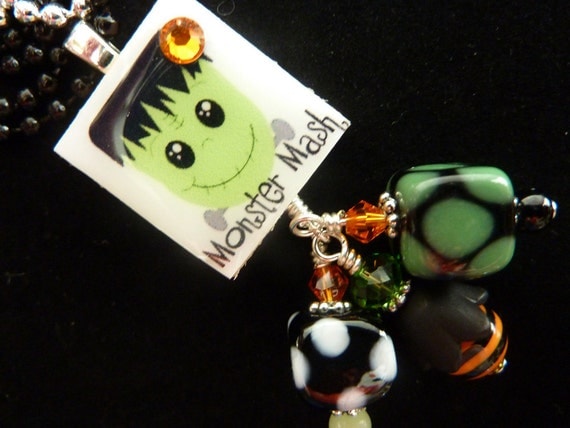
Halloween Monster Mash Scrabble Tile Pendant Necklace
by macymo
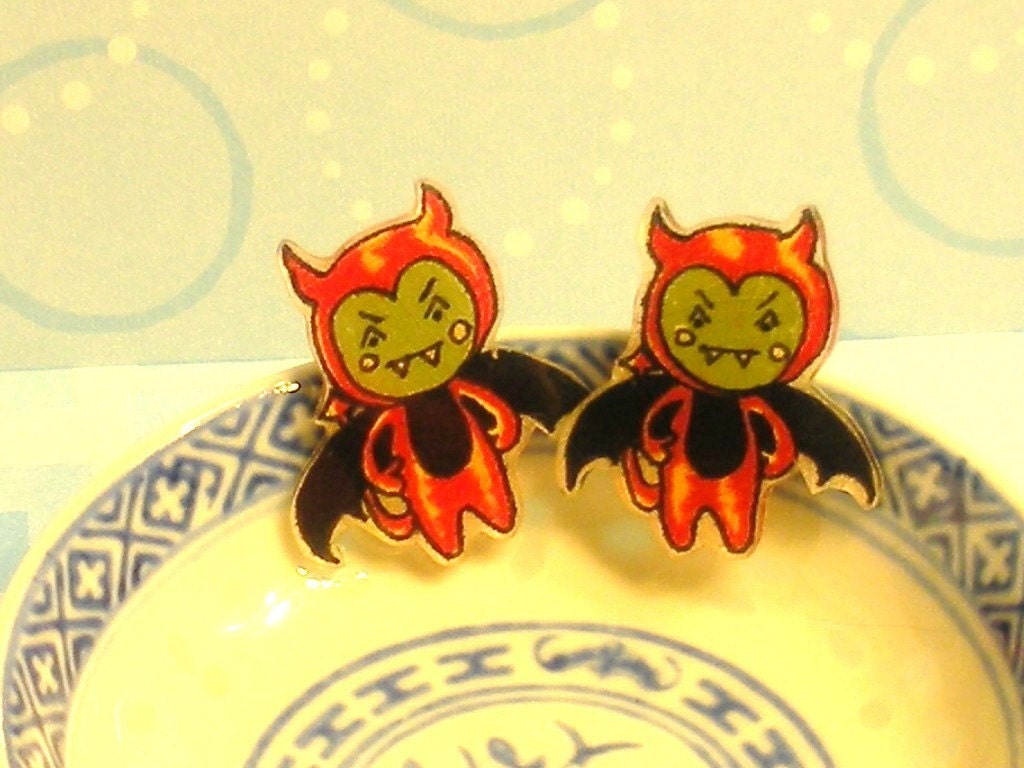
You Little Devil Post Earrings
by LynnAquaheart
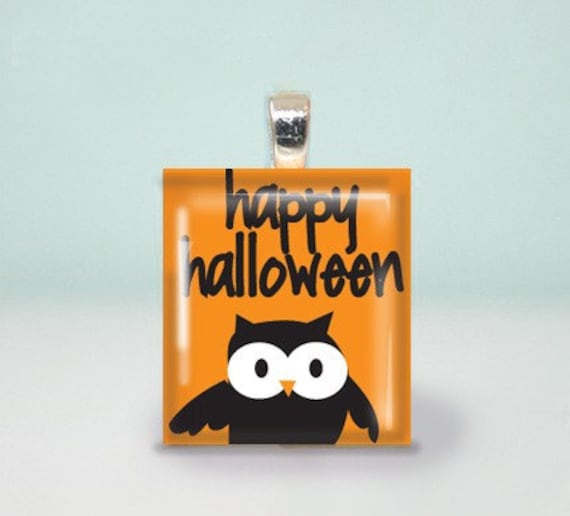
Scrabble Pendant Black Orange Kitschy Cute Black Owl Happy Halloween
by BrunetteDoll
Now here are some cute holders for all the loot the kids bring home:


Light Up Personalized Halloween Bucket
by lizziejeans
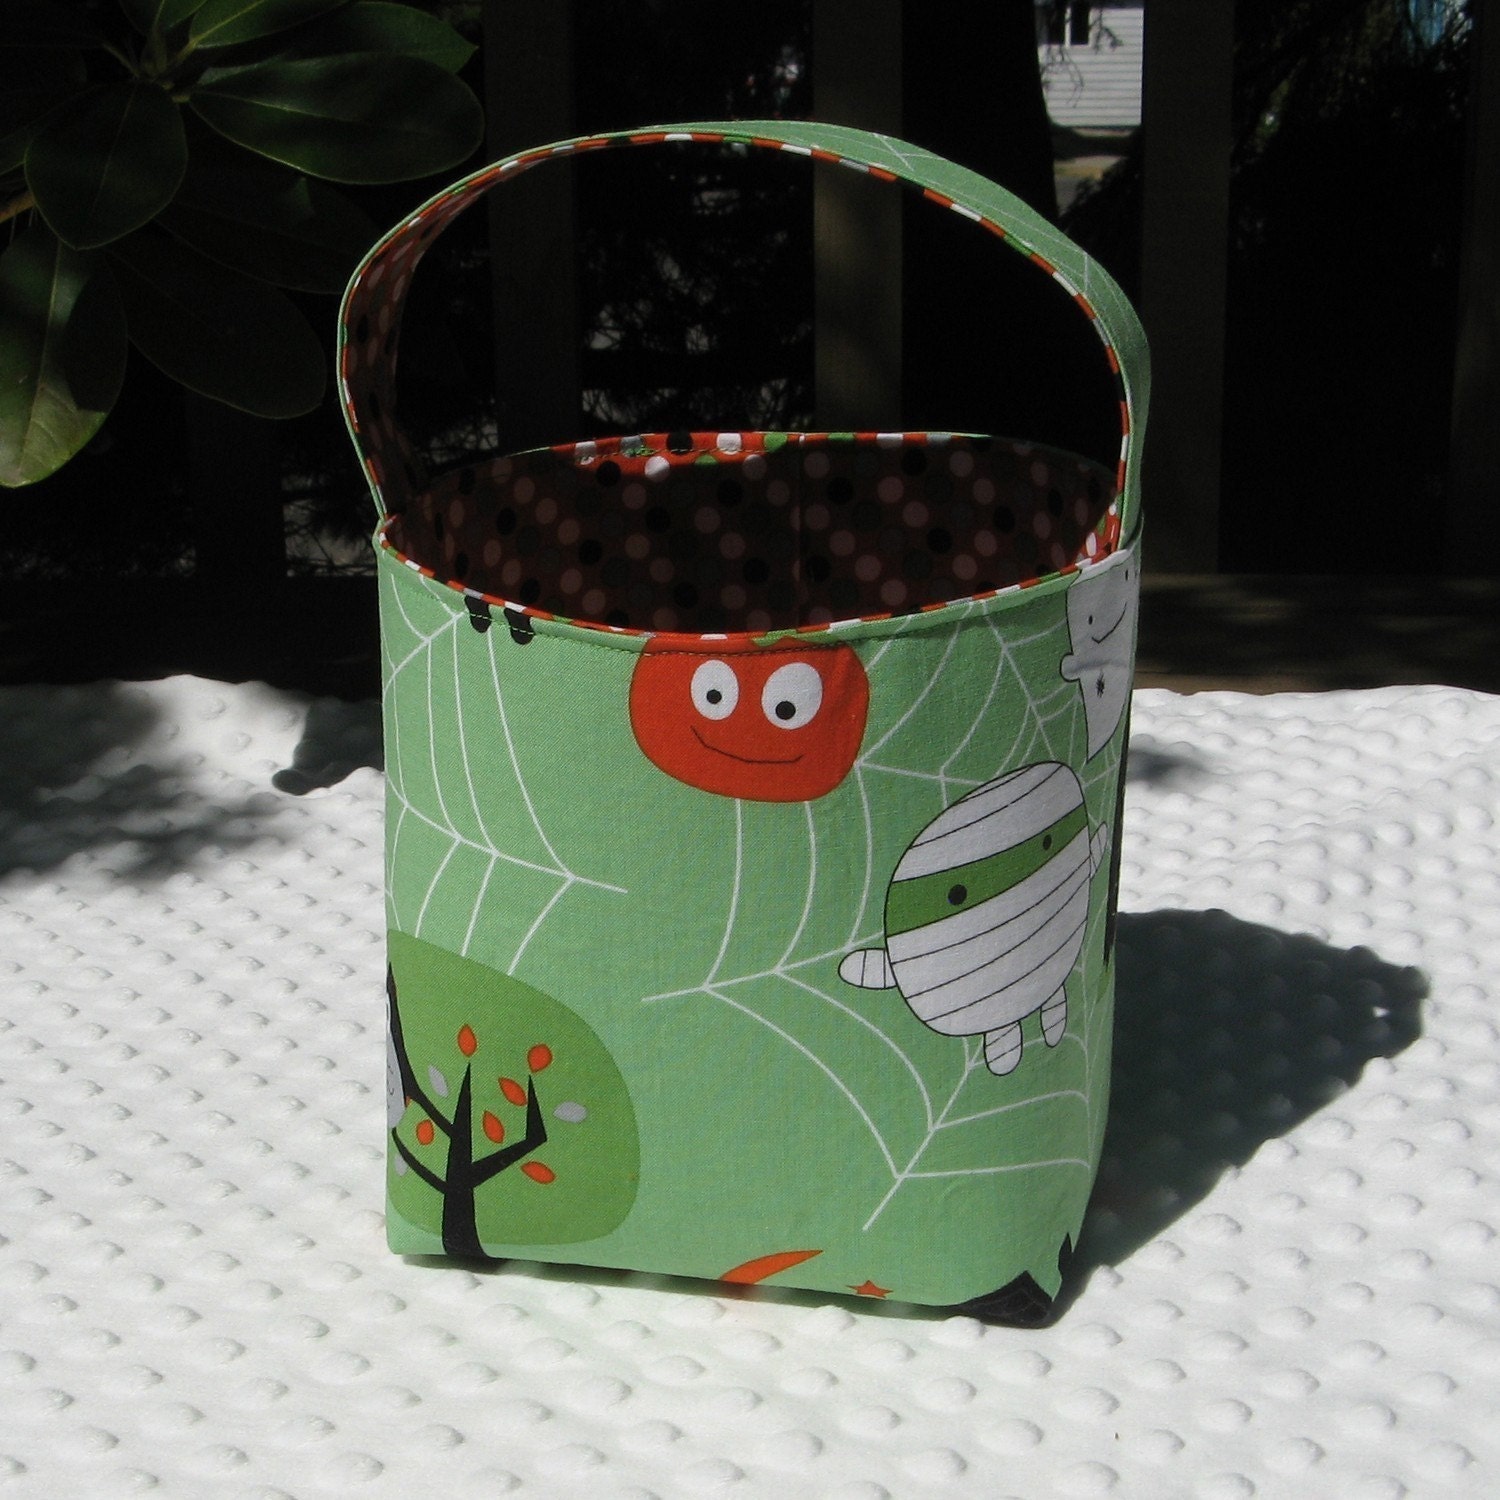
Trick or Treat Basket...Riley Blake
by LittleChicBoutique


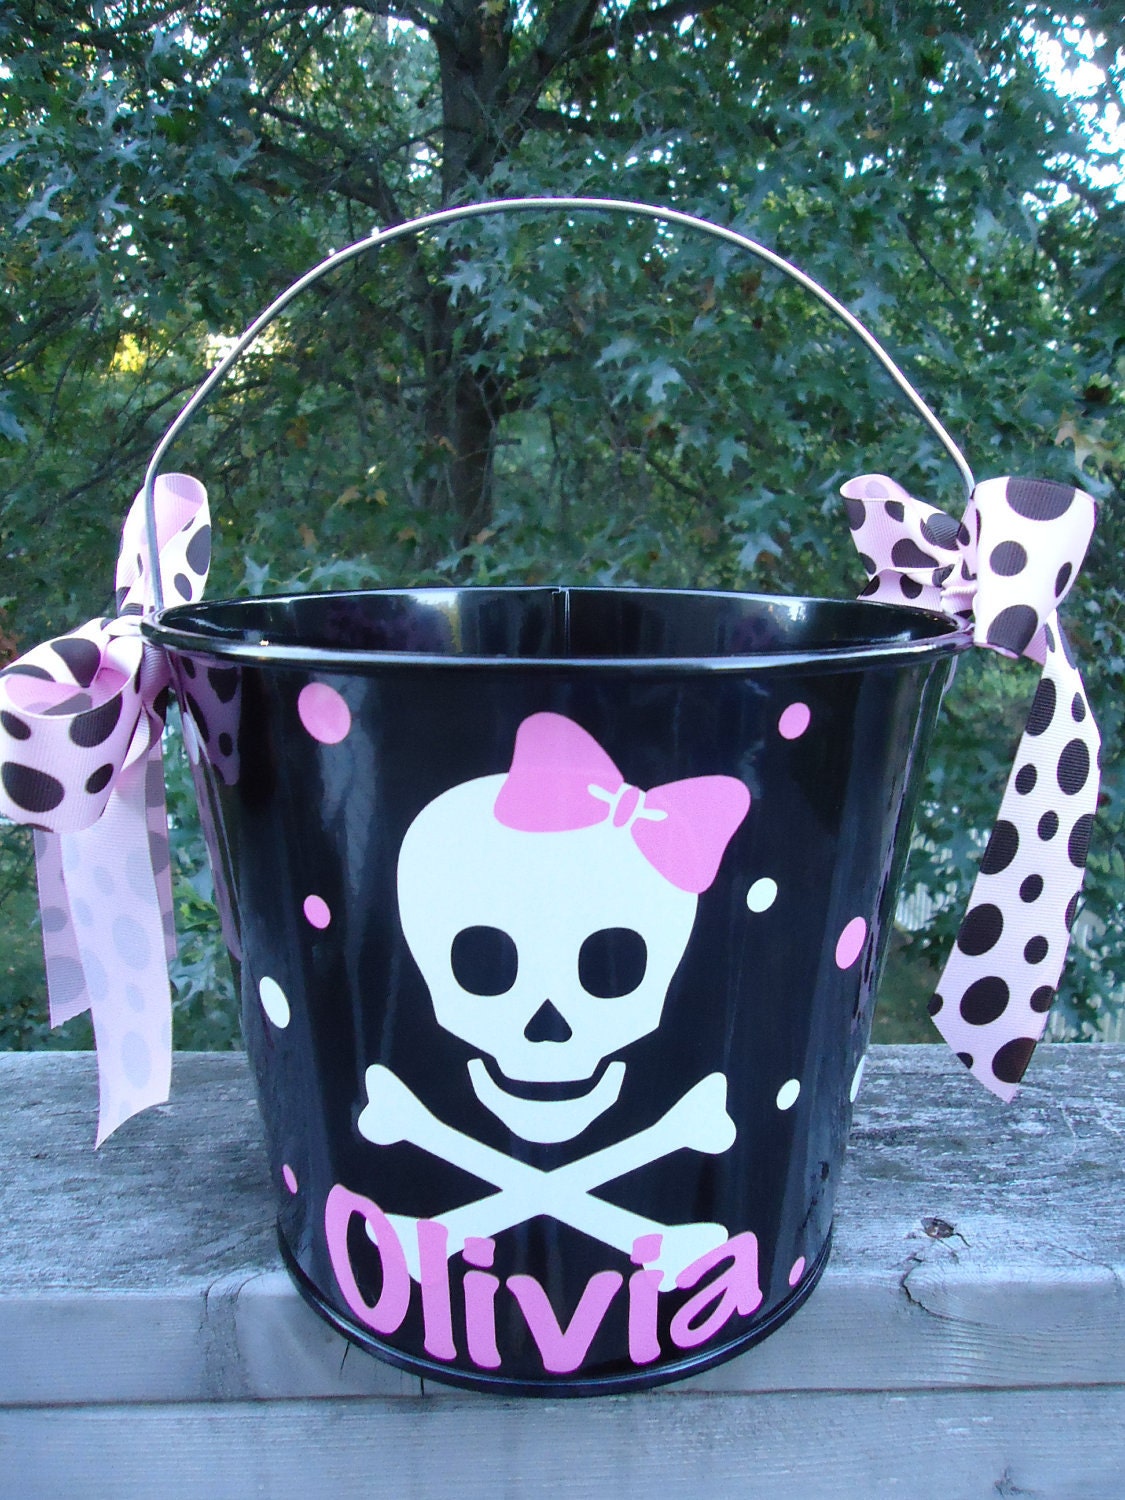
Halloween trick or treat bucket - personalized skull and crossbones for girls design
by Dotted Designs

And here are some fun blogs to get you jumpstarted on all things Halloween:

A Nostalgic Halloween

 Fright Catalog.com:  Halloween Blog


A Glittered Halloween (awesome list of Halloween blogs)


My Ghoul Friday (seriously fun stuff)


Well, that's it for today! 

Happy Haunting,

Natosha

Thursday, September 8, 2011

Picnik

Ok, so a lot of you already know about Picnik.  For those of you who don't, go see them.  They offer a free membership to use their photo-editing software.  It is all online, no huge downloads.  I highly recommend the paid membership for about $24.95 per year.  (They also offer monthly and 6-month options.)


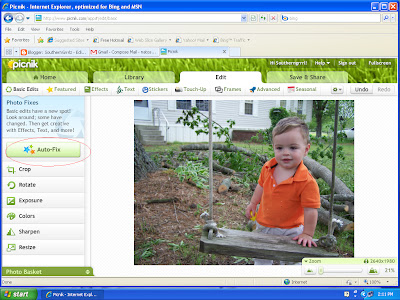
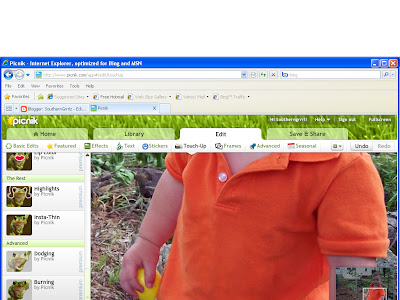
The following shows my favorite features of Picnik.  I am using a picture of my son Jaxon (pronounced Jackson).


I usually click on Auto-fix, if I don't like the effect I Undo it.
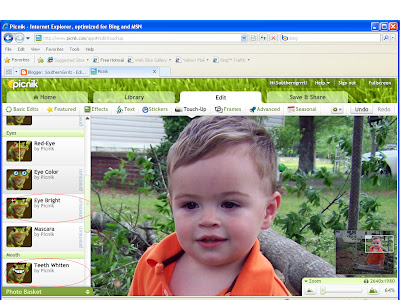
Next, I go to the Touch Up tab where I love to use Eye Bright and Teeth Whiten.

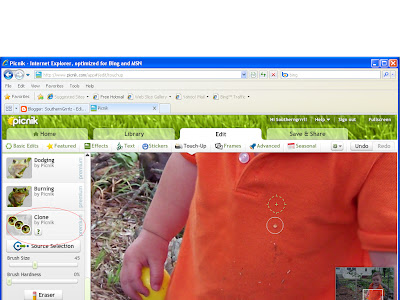
On this photo, I also used the Clone effect (only available with Picnik Premium).  JP had grass all over his shirt.

Grass all gone!


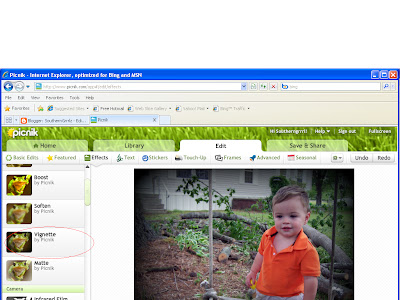
Now on to the Effects tab where I first used Vignette.

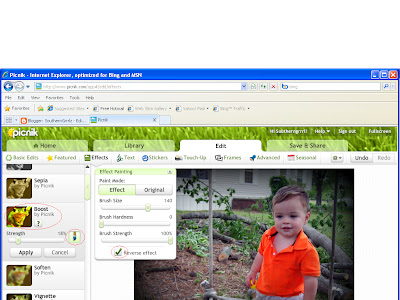
Then I chose Boost and painted his shirt and Easter egg brighter.

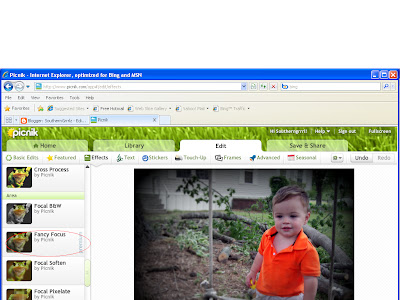
Here I used Fancy Focus to make the background fuzzy.  You can make the focal area as large as you want.


Next I added text.

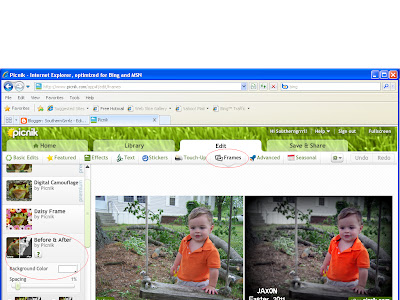
By choosing the Frames tab, you can see before and after images of your photo.

Here is the final picture:


I hope you enjoy playing with Picnik as much as I do.  Until next time,

Natosha
Picnik!